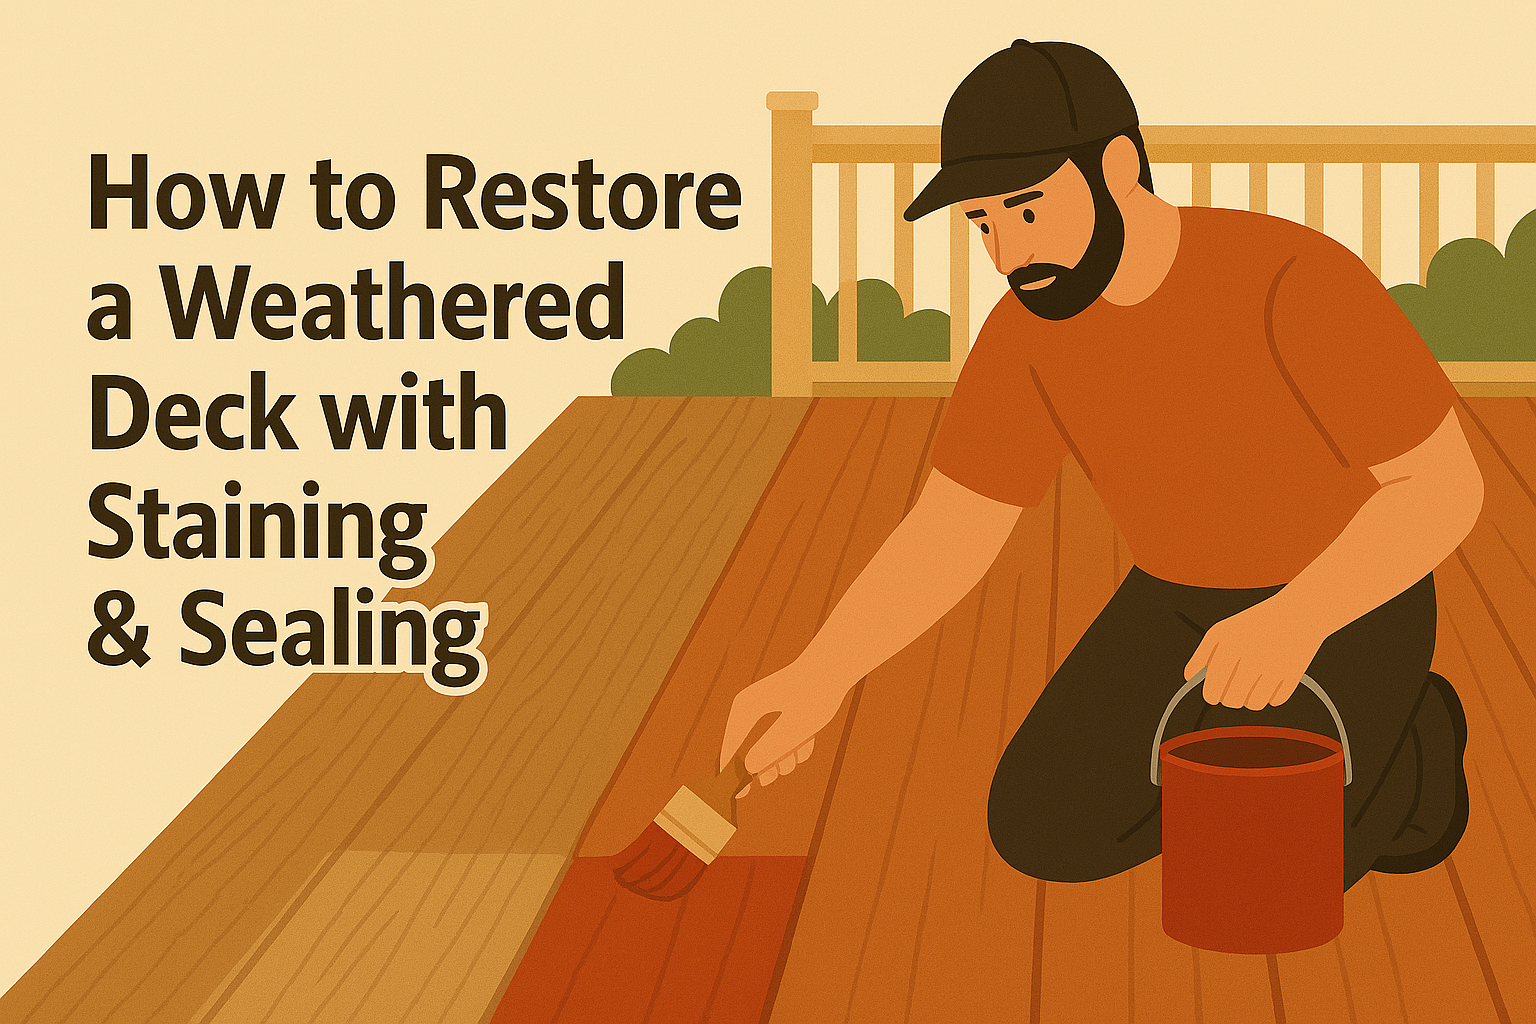
How to Restore a Weathered Deck with Staining & Sealing
Have you ever looked at your outdoor deck and thought, “I wish I could restore it to its former glory?” Whether it’s been years of exposure to harsh weather conditions or just regular wear and tear, your deck might be in need of some TLC.
The good news is that a weathered deck doesn’t necessarily need to be replaced—it can be saved with the right approach. Restoring a deck isn’t just about improving its looks. It’s about protecting your outdoor living space from the elements, prolonging the life of the wood, and making it a place where you can once again enjoy time with family and friends.
If you’re looking to tackle this project, expert deck staining and sealing can help you achieve a professional finish that will keep your deck looking great for years. With the proper tools, materials, and know-how, restoring your deck can be a rewarding DIY project, or, if you prefer, something you can entrust to the professionals.
Let’s dive into the steps that will transform your deck from worn-out to wonderful!
Assessing Your Deck’s Condition: Is It Salvageable?
Before you get started on your deck restoration project, it’s crucial to assess the current condition of your deck. Knowing the extent of the damage helps you plan accordingly, whether you’re just cleaning and staining or making significant repairs.
Key things to look for:
- Cracks and Soft Spots:
Over time, your deck boards may crack or warp due to sun exposure, moisture, and general wear. Small cracks are often repairable with wood filler, but large cracks or rotting wood may require complete board replacements. - Loose Boards and Fasteners:
Loose or missing nails and screws are a common issue in weathered decks. Check for rusted fasteners—these can weaken the structure of your deck. Replacing rusted nails and screws with galvanized or stainless steel fasteners will ensure a long-lasting, stable deck. - Mold and Water Damage:
If you notice warping or a musty smell, the wood may be compromised by moisture. Mold and mildew are serious problems, especially in areas with high humidity or heavy rainfall. Cleaning and sealing your deck will help prevent future moisture damage.
Think of this as a diagnostic stage. Just like a car needs a check-up before taking it for a long road trip, your deck needs some attention before diving into repairs and refinishing. If the damage is more severe, you may need to replace individual boards, perform structural repairs, or call in a deck professional to evaluate the integrity of your outdoor space.
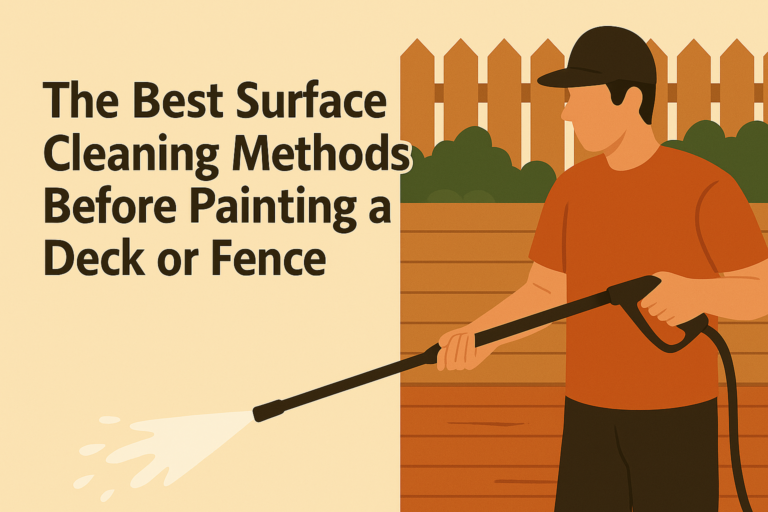
Step 1: Clean Your Deck—It’s More Than Just Sweeping
Once you’ve assessed the damage, the next step is to give your deck a good cleaning. Over the years, dirt, mildew, and algae can accumulate on the surface, making it look dingy and worn out.
Cleaning is essential because it creates a smooth, clean surface for the new stain to adhere to. Skipping this step could result in a poor finish and a shorter lifespan for your new coating.
Tools for Cleaning:
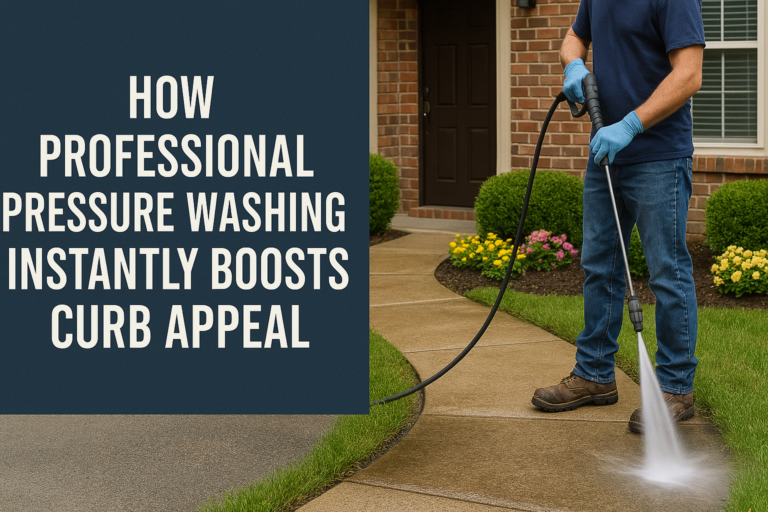
- Pressure Washer:
A pressure washer is your best friend when it comes to cleaning a weathered deck. This tool uses water at a high PSI to blast away dirt, mildew, and old finishes. Make sure to use a PSI between 1500 and 2500 to avoid damaging the wood. - Eco-Friendly Deck Cleaners:
For a gentler, more environmentally friendly approach, consider using a deck cleaner made from natural ingredients like vinegar or baking soda. These cleaners are effective but won’t harm the wood or surrounding vegetation. - Deck Stripper:
If your deck has been previously stained or painted, a deck stripper will help remove the old finish. It’s essential to apply this carefully and follow the manufacturer’s instructions for best results.
Don’t Forget:
- Scrub Brush and Soft-Bristle Brushes:
For stubborn spots, use a soft-bristle scrub brush to manually work the cleaner into the wood. Pay special attention to areas with heavy mildew or moss build-up. - Deck Cleaner for Corners and Cracks:
Use a small brush or a scraper tool to get into the cracks and corners of your deck boards. These hidden areas can harbor dirt and moisture that may compromise the integrity of your deck.
A thorough cleaning doesn’t just make your deck look better—it also opens up the wood’s pores, allowing the new stain to penetrate properly. Remember, for a successful staining job, the cleaner the deck, the better the outcome.
Step 2: Repairing Your Deck—Putting It Back Together
Now that your deck is clean and dry, it’s time to repair any damage. This step ensures that your deck is structurally sound and ready to be treated with stain and sealant. Without repairs, the restoration process could be short-lived, as weak spots or loose boards might continue to degrade.
Repair Tips:
- Replacing Damaged Boards:
If you notice any rotting or severely cracked boards, it’s important to replace them. Choose durable, sustainable wood options such as cedar, redwood, or pressure-treated lumber for replacement boards. - Fastener Replacement:
Look for rusted screws or nails and replace them with galvanized or stainless-steel fasteners. These materials are resistant to rust and will last longer, making sure your deck remains sturdy. - Wood Filler:
For minor cracks or holes, wood filler is an easy fix. Smooth it out with a putty knife and let it dry completely before sanding down the surface to make it even. - Gaps Between Deck Boards:
Gaps are natural in any deck, but if they’re too wide, they may allow debris and water to accumulate. Use a deck sander to even them out if necessary, ensuring a consistent surface for staining.
By addressing these issues during the repair phase, you ensure the longevity of your deck restoration. Think of this step as “fixing the foundation” before applying any finishing touches. A secure structure makes all the difference when it comes to enjoying your deck for years to come.
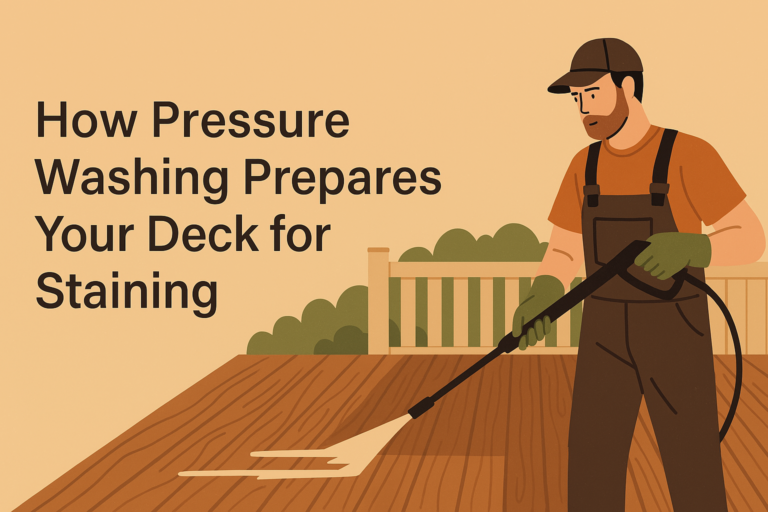
Step 3: The Magic of Staining and Sealing
Now comes the fun part—adding color and protection to your deck! Staining and sealing will give your deck a fresh, vibrant look while also shielding it from moisture, UV rays, and other elements that cause wear.
Choosing the Right Stain:
- Semi-Transparent Stains:
These stains allow the wood grain to show through while providing moderate protection. If you love the natural look of the wood, this is a good option for you. It protects against UV damage and moisture, but still lets the beauty of the wood shine through. - Solid Stains:
If your deck has seen better days and you want to cover up imperfections, solid stains are a great choice. These stains hide the natural grain but provide maximum protection against the elements. They’re perfect for older decks that need a fresh, clean look. - Transparent Stains:
For those who want to emphasize the wood’s natural color and grain, transparent stains are ideal. They offer a more subtle finish but require reapplication more often than other types of stains.
How to Apply Stain:
- Use a Brush or Roller:
Begin applying the stain using a brush or a 4-inch roller. Work in small sections and make sure to apply the stain evenly to avoid streaks. - Power Sprayer:
For larger decks, a power sprayer can be used to speed up the application process. Just be sure to keep the sprayer at a consistent distance from the wood to ensure an even coat. - Don’t Forget to Wipe Excess Stain:
After applying the stain, take a clean cloth and wipe away any excess. This prevents streaks and ensures an even finish. - Seal for Protection:
After your stain has dried, it’s essential to apply a protective sealer. A good sealer protects your deck from moisture, dirt, and UV rays, keeping your newly restored deck looking fresh for much longer. Choose a water-repellent or polyurethane sealer depending on your desired finish.
Common Pitfalls and How to Avoid Them
While restoring a deck can be a rewarding project, there are some pitfalls you’ll want to avoid along the way.
- Watch for Weather Delays:
You’ll want to apply your stain and sealer when the weather is dry and mild. Too much moisture or heat can prevent proper drying. Always check the forecast before starting your restoration project. Aim for 24-48 hours of dry weather to ensure the best results. - Hidden Damage:
Sometimes, the damage isn’t visible on the surface. Be thorough in your inspections and don’t hesitate to replace boards or address issues with the deck structure. Ignoring hidden damage can result in further deterioration down the line.
Conclusion
Restoring a weathered deck is more than just a cosmetic fix—it’s about preserving and protecting your outdoor space for years to come.
From cleaning and repairs to staining and sealing, each step is crucial in ensuring a lasting, beautiful deck. If you prefer to leave the heavy lifting to the experts, ProTek Fence Staining Austin specializes in deck restoration, offering high-quality staining and sealing services that can breathe new life into your deck.
So, roll up your sleeves, gather your tools, or contact the professionals at ProTek Fence Staining Austin—you’ve got a deck to restore.