How to Restore a Weathered Deck: Staining & Sealing
A gray, rough, tired-looking deck is almost never a dead deck. Under the weathered surface, most boards still have years of structural life — what they have lost is finish, and finish can be rebuilt. This is the full restoration sequence, honestly described, whether you run it yourself over a couple of weekends or hand it off.
If you would rather have it done in a weekend you spend elsewhere, our deck restoration service runs this exact sequence with professional equipment — but the process below is the process, either way.
The Realistic Weekend Map
Set expectations before the first hose connects. Weekend one, day one: clear the deck completely, wash, and treat growth — the deck ends the day wet and unimpressive, which is normal. Day two: brighten, rinse, and walk away; the drama of the brightener is the weekend’s payoff. The in-between days: nothing but drying, and resisting the urge to rush is the whole job. Weekend two, day one: final prep — light sanding where grain raised, moisture check, hardware and gap cleanout. Day two: finish application, thin and patient, then a hard stop on foot traffic. Total active labor sits around twelve to sixteen hours for a typical deck; total elapsed time is eight to ten days, and the gap between those numbers is where DIY restorations succeed or fail.
Step 1: Assess Before You Invest
Walk the deck and probe the suspects: board ends, stair stringers, posts at the ground line. Soft spots, deep rot, or boards that flex underfoot are structural issues no finish fixes — replace those boards first. Surface problems — gray color, raised grain, splinters, old flaking finish — are exactly what restoration reverses. Most weathered decks pass this inspection with a short replacement list or none.
Products and Tools, Honestly Listed
The restoration aisle is noisier than the job requires. What the work actually needs: a sodium-percarbonate wood cleaner (the workhorse for grime and growth), an oxalic-acid wood brightener (the gray-reverser), a pump sprayer for both, a pressure washer capable of running gently with a fan tip, stiff brushes for stubborn corners, and applicators matched to your finish — pad, brush, or sprayer-plus-backbrush. The upgrades that earn their cost: a moisture meter, painter’s tape and sheeting for the house side, and knee pads your future self will thank you for. The products that mostly sell hope: one-step cleaner-brightener combos that do both jobs adequately and neither well, and any finish promising decade-long life on a horizontal Texas surface. Buy the boring proven list and spend the savings on patience.
Step 2: Wash at Deck-Safe Pressure
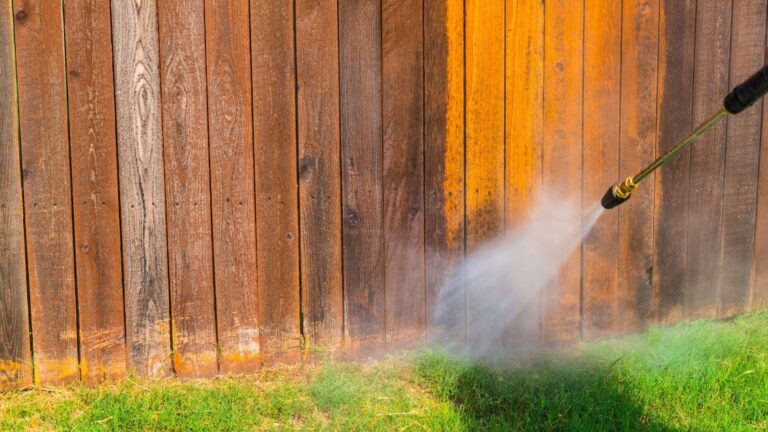
Restoration starts by removing everything sitting on the wood: dirt, algae, mildew, and the dead gray surface fibers UV has created. The critical word is calibrated — high pressure gouges softwood permanently, leaving wand lines and fuzz no stain can hide. Fan tip, moderate pressure, always with the grain, letting a wood cleaner do the chemical work. The deck will look worse wet and mid-process; that is normal.
Step 3: Brighten the Gray Away
Washing cleans; brightening restores. A wood brightener — typically oxalic-acid based — neutralizes the gray oxidation and dark tannin stains, visibly pulling boards back toward their original tone within minutes. It also rebalances the wood’s pH after cleaning so stain absorbs evenly. Skipping this step is the most common reason DIY restorations end up blotchy.
Step 4: Dry to the Right Reading
The invisible step that decides everything: the wood must dry before finishing — typically two to three rain-free days, ideally verified with a moisture meter. Stain applied over damp boards seals water inside and fails from underneath. Patience here is free and worth more than any premium product.
Step 5: Stain (or Seal) for Horizontal Wear
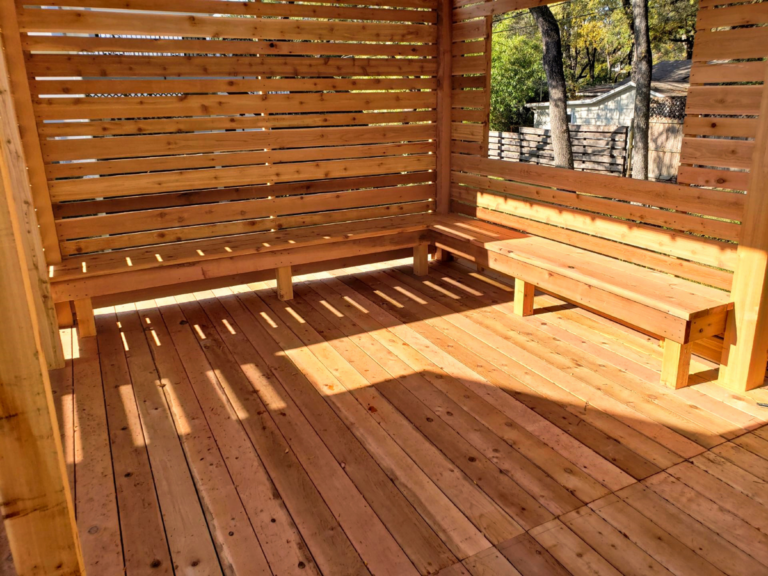
Decks want penetrating products built for foot traffic and standing water. A quality deck stain adds pigment for UV defense; a clear sealer protects while showing the recovered natural tone, on a shorter maintenance cycle. Apply board by board with a wet edge, thin coats over thick, extra attention to end grain and stair treads. Then respect the cure time before the furniture returns.
Railings, Stairs, and the Parts That Show
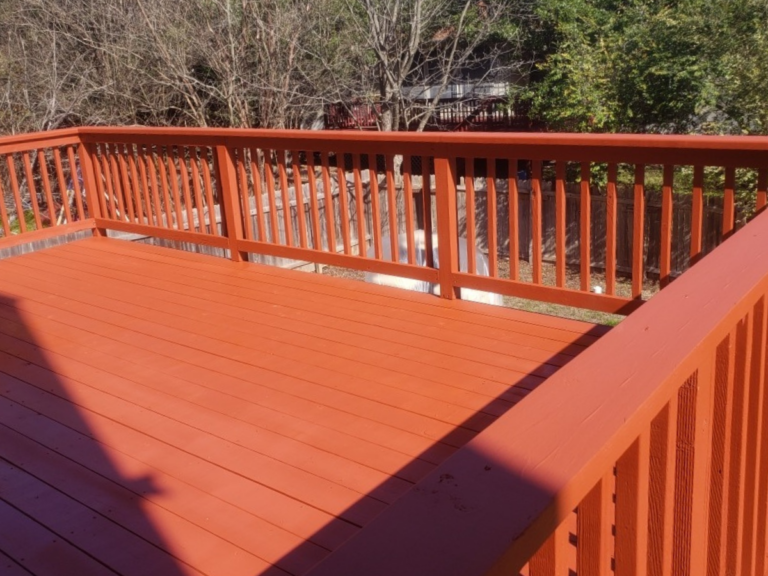
Deck boards get the attention, but the vertical and high-touch elements decide how the restoration reads. Railings sit at eye level and hand level — their finish quality is inspected daily whether anyone means to or not, so they get brushed carefully rather than sprayed casually. Balusters are tedious and skipping their back faces is the most common visible shortcut on DIY jobs; from the yard, the skipped side is the side that shows. Stair treads take the deck’s hardest wear plus full weather, which argues for the most durable product on the property and honest expectations about their re-coat cycle running shorter than the field boards. And end grain everywhere — board ends, rail caps, stair stringers — drinks finish at triple rate and repays a deliberate second pass, because end grain is where water enters wood and where restorations quietly begin failing first.
The Mistakes That Undo Restorations
Four errors account for most failed DIY restorations, and all four are avoidable. Blasting at full pressure — permanent gouges and fuzz before the project even starts. Skipping the brightener — blotchy, uneven color under the finish. Staining damp wood — the finish peels from underneath within a year. And over-applying — thick coats of penetrating stain cannot soak in, so they sit on top and wear like bad paint. Notice the pattern: every mistake is a shortcut, and the wood keeps the receipts.
Keeping It Restored
The restoration you never repeat is the one you maintain: an annual wash, the water-bead test each spring, and a light re-coat every two to four years by exposure. That rhythm costs a fraction of another full restoration — which is the entire economics of deck ownership in one sentence.
When to Call It: The Replacement Line
Honesty about the limit keeps the rest of this guide trustworthy. Restoration reverses surface conditions; it cannot rebuild structure. The hard signals: joists or posts that a screwdriver sinks into, boards spongy across their width rather than rough on their face, fastener fields so corroded that boards shift underfoot, and framing rot at the ledger where the deck meets the house — that last one is a safety issue before it is a cosmetic one. A deck with one or two failed boards restores beautifully around replacements; a deck where every third board fails the probe is a rebuild wearing a restoration budget. The useful ratio from years of these assessments: when replacement-grade boards pass ten to fifteen percent, price both paths before committing, because finish money spent on failing structure is the one version of this project with no good ending.
FAQs
How do I know if my deck is worth restoring?
If the structure passes the probe test — solid posts, sound joists, boards that don’t flex or crumble — it is worth restoring. Gray is cosmetic; rot is not.
Can I skip the brightener if the wash looks good?
If boards rinse clean back to a natural tone, sometimes. If any gray or dark staining remains, brightening is what prevents a blotchy finish.
How long does DIY restoration take?
Usually two weekends: wash and brighten the first, finish the second, with drying days between. Weather sets the real schedule.
Stain or sealer for the final step?
Stain for the longest protection and UV defense; clear sealer to showcase the recovered wood on a shorter cycle. Sun-exposed decks lean stain.
What if a few boards are too far gone?
Replace them before finishing and stain everything together — new boards blend far better under a unified finish than left bare.
What equipment does the DIY version actually require?
A pressure washer with a fan tip and adjustable pressure, wood cleaner, wood brightener, a pump sprayer, stain and applicators, and ideally a moisture meter — the cheapest item on the list and the one that prevents the most failures.
Can restoration happen in sections over several weekends?
Structurally yes, visually with care — finish applied weeks apart can show tone differences. Complete the wash-and-brighten across the whole deck, then finish in as few sessions as weather allows.