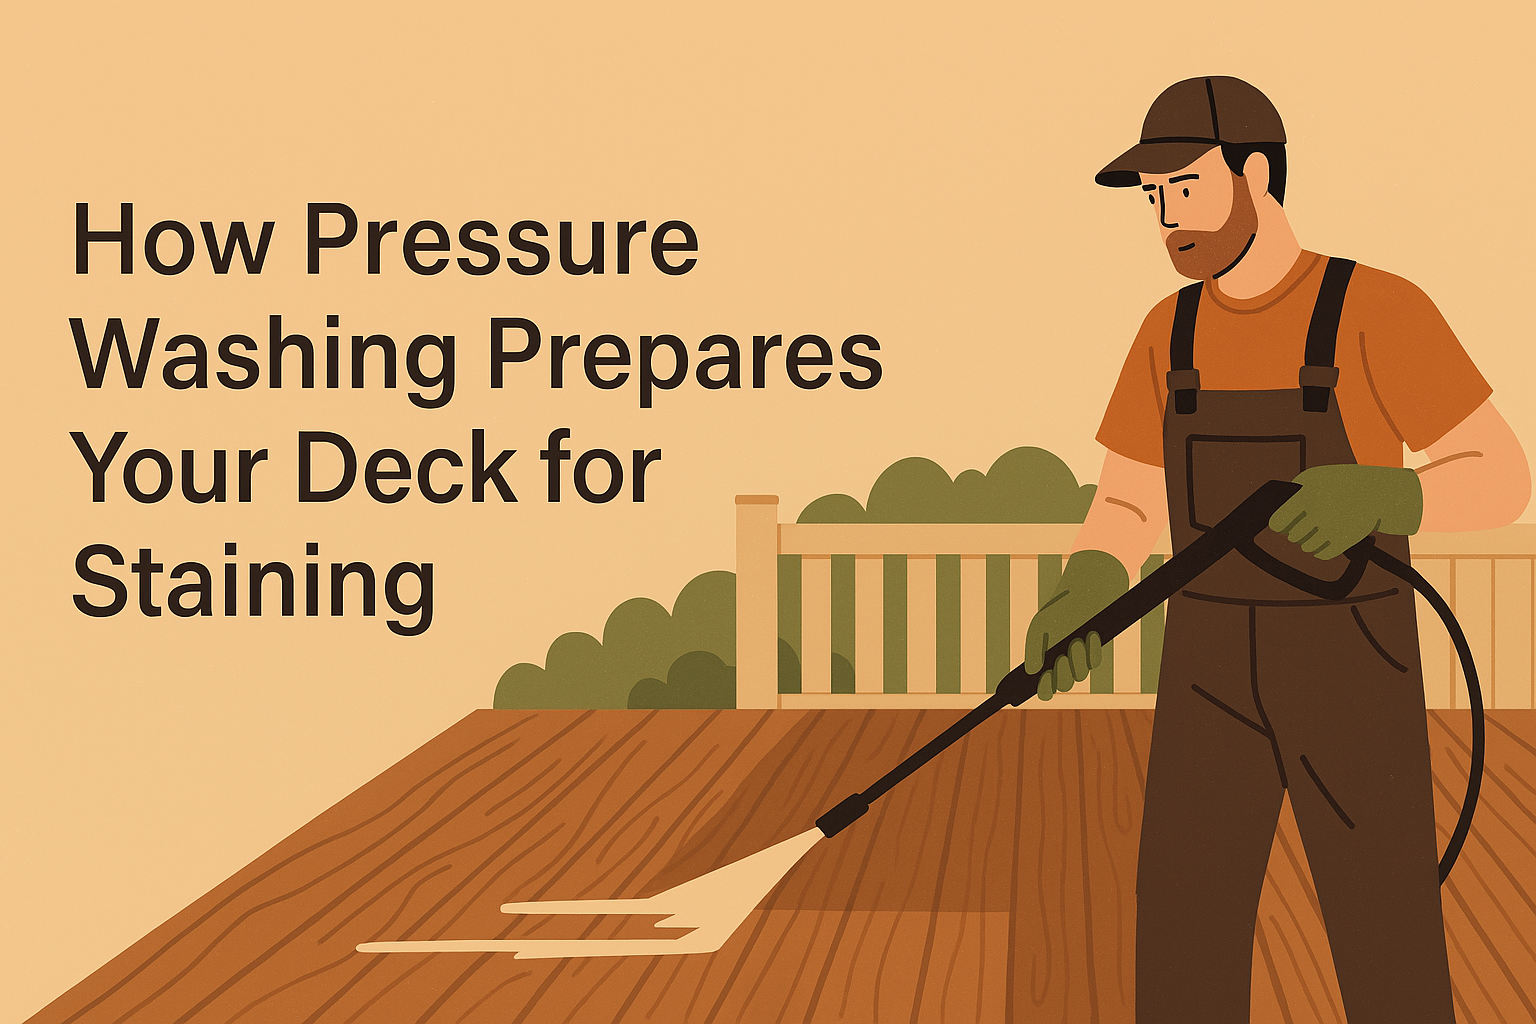
How Pressure Washing Prepares Your Deck for Staining
Imagine this: you’re sipping lemonade on your wood deck, soaking up the sun, and instead of a rich, smooth finish, you’re staring at peeling stains and black spots.
Not the peaceful scene you envisioned, right?
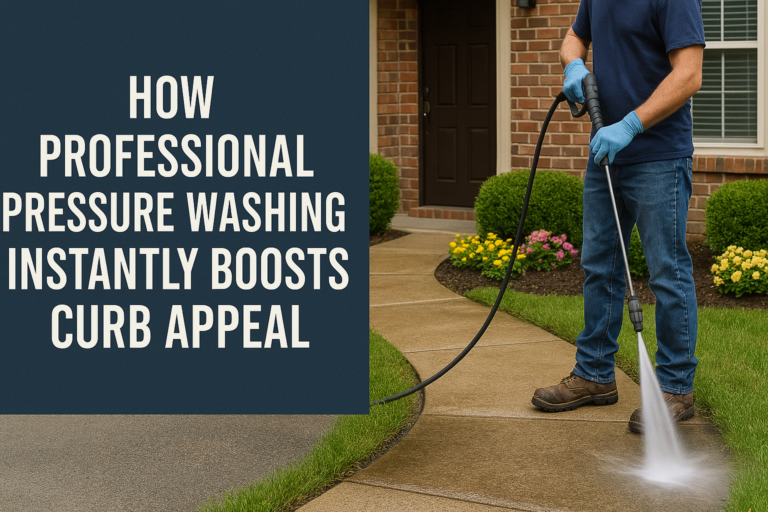
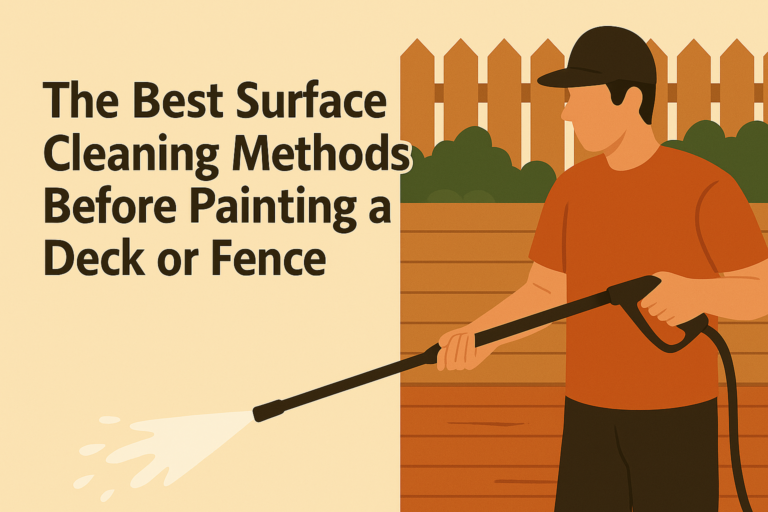
Before you grab a paintbrush and add another layer of stain, there’s a crucial step that can make all the difference: deck pressure washing services.
Pressure washing your deck removes dirt, mold, old coatings, and gray wood fibers, preparing the surface to absorb the stain evenly. Without it, your efforts to freshen up the deck will be like painting over a dirty wall — it won’t last, and it won’t look great.
In this guide, we’ll show you how pressure washing gives your deck the ultimate prep treatment before staining, ensuring your deck gets the care it deserves for a long-lasting, beautiful finish.
Why Pressure Washing Is the Real MVP of Deck Prep
Staining a dirty deck is like painting over cobwebs — it might look okay for a second, but it won’t last. Mold, mildew, and built-up gunk trap moisture, leading to deck rotting and flaking finishes.
If you want your deck to look great and stay in top condition for years, prepping it properly is essential.
According to Legacy Painting, a commercial painting company, proper deck preparation can extend your stain’s life by up to 3 years. That’s 3 summers of backyard hangouts without the headache of redoing everything.
Imagine enjoying your deck without worrying about fading or peeling. Using a pressure washer not only removes dirt, but it also blasts away gray wood fibers, old stains, and even algae. It gets into those nooks between deck boards where dirt, debris, and moisture love to hide, ensuring no part of your deck is left untreated.
When you’re done, you’re left with a clean, smooth surface that soaks up stain like a sponge, making it easier for the stain to adhere and last longer.
And for that job, you’ll need more than just a bucket of soapy water. A pressure washer offers the power and precision necessary to properly prep your deck. Plus, it helps prevent future issues like warping or cracking by eliminating moisture-trapping grime.
So, don’t skip this crucial step — it’s the key to long-lasting, beautiful results.
Gearing Up: Tools That Make or Break the Clean
Let’s talk gear. You don’t need to rent a commercial grade machine (unless your deck’s the size of a football field), but you do need the right setup:
- Electric pressure washer or a petrol pressure washer
- Pressure washer wand with a 25–40 degree nozzle
- Deck Cleaner or deck stripper for previous coatings
- Deck brightener to neutralize chemicals
- Stiff bristle brush or deck scrub brush for touch-ups
- Safety goggles, chemical-resistant gloves, and old clothes
- Moisture meter to check dry time later
And don’t forget your water source. Make sure your pressure washer intake hose is connected to a reliable garden hose or water supply.
What Pressure Washing Actually Removes
Your deck is dirtier than it looks. Over time, it collects:
- Mold and algae (hello, slippery spots)
- Old stain and chemical residue
- Dirt, leaves, and gunk between deck boards
- Gray, dead wood fibers from sun damage
These aren’t just eyesores. They prevent stain from soaking in evenly, which leads to lap marks, blotches, and flaking.
A high-powered pressure washer loosens and removes all that mess. But be careful — delicate wood fibers need finesse. Stand back about 2 feet and use sweeping motions to avoid pressure marks.
Skip the Mistakes: What NOT to Do When Power Washing
Let’s be real — too many people treat power washing like a water fight. Fun? Sure. Effective? Not really.
Avoid these common blunders:
- Spraying too close: Deep gouges aren’t stylish.
- Using the wrong nozzle: A 0-degree nozzle can carve wood like a knife.
- Skipping chemicals: Straight water won’t cut through old coatings.
- Forgetting brightener: Always follow a stripper with brightener to restore the pH.
Think of it like shampoo and conditioner for your deck. And please, wear eye protection and latex gloves. Chemical cleaners don’t play nice.
When and How to Use a Deck Cleaner or Stripper
If your deck’s never been stained, a simple Deck Cleaner and a scrub brush might be enough to get the job done. A good deck cleaner will lift dirt and grime, leaving the wood ready for staining.
However, if your deck is covered in layers of old paint, semi-transparent stains, or weathered finishes, it’s time to bring in the big guns — a deck stripper.
Deck strippers are designed to break down stubborn layers of old finish and bring the wood back to its natural state. To use, apply the stripper with a chemical tip spray or wash wand. Be sure to follow the product instructions carefully — each stripper will have specific guidelines for application and dwell time.
Let it sit for the recommended amount of time (this is called “dwell time”), allowing the chemical to work its magic. After the product has had time to work, gently scrub the surface with a stiff bristle brush to lift any remaining finish. It’s important to go easy and avoid harsh scrubbing that could damage the wood.
Once you’ve scrubbed, rinse the surface thoroughly with a pressure washer using a broad spray pattern to ensure all the stripper and residue are completely washed away.
The key is to make sure no residue is left behind. Stain hates competition — if there’s any leftover stripper or cleaner, it can interfere with how well the new stain adheres to the wood.
By taking the time to properly strip and clean your deck, you’ll ensure a smoother, longer-lasting finish.
Brighten Things Up: Why a Deck Brightener Matters
A deck brightener might sound like an optional step — like whipped cream on hot cocoa — but in reality, it’s essential for achieving the best results.
After using strippers and cleaners, the wood’s pH level is often thrown out of balance. A deck brightener works to restore that balance, ensuring the wood is in its prime condition for staining.
Not only does a deck brightener help neutralize the pH, but it also opens up the wood grain, allowing the wood to absorb stain and sealer more effectively.
This means you’ll get a more even, uniform finish with fewer blotches. Plus, the wood will have that fresh, vibrant look that will make your deck shine — perfect for snapping photos that you’ll want to share on Instagram.
To use a brightener:
- Apply it with a sprayer
- Let it sit for the recommended amount of time
- Rinse thoroughly with a pressure washer
Once you’ve finished, you’ll notice the wood looks almost like new — refreshed and ready to absorb the stain evenly, giving your deck the vibrant, smooth finish it deserves.
Don’t skip this step; it’s the secret to a flawless, professional-looking result.
Let It Breathe: The Crucial Drying Time
Now’s the hard part — waiting.
Even if your deck looks dry, it might be holding onto moisture deep in the wood. According to experts, you need at least 48 hours of dry weather, but some decks need up to 5–7 days depending on humidity, temperature, and time of year.
Check with a moisture meter before applying stain. Your wood should be below 15% moisture. Otherwise, the stain will just sit on top and eventually peel.
Pro tip: Avoid direct sunlight during application. Early morning or cooler times of day give you the best results.
Smooth Operator: Light Sanding for a Silky Finish
Pressure washing can rough up delicate areas or raise wood fibers. Don’t panic — that’s normal.
After your deck’s dry, go over it with a random orbit sander or floor sander. Focus on splintered spots, handrails, and stair treads. Use natural bristles for dust cleanup and wipe the surface with a clean cloth.
This step is like smoothing cake batter before baking. Small effort, big reward.
Here’s the Twist: You Don’t Need the Strongest Washer
Let’s bust a myth: bigger isn’t always better when it comes to power.
A battery-operated washer or electric pressure washer works great for most residential decks. Cranking up to commercial pressure can damage deck balusters, deck screws, or even the deck wood itself.
The goal isn’t destruction — it’s preparation.
- Stay around 500–1200 PSI for softwoods
- Hardwoods can handle up to 1500 PSI
- Always test in an inconspicuous spot first
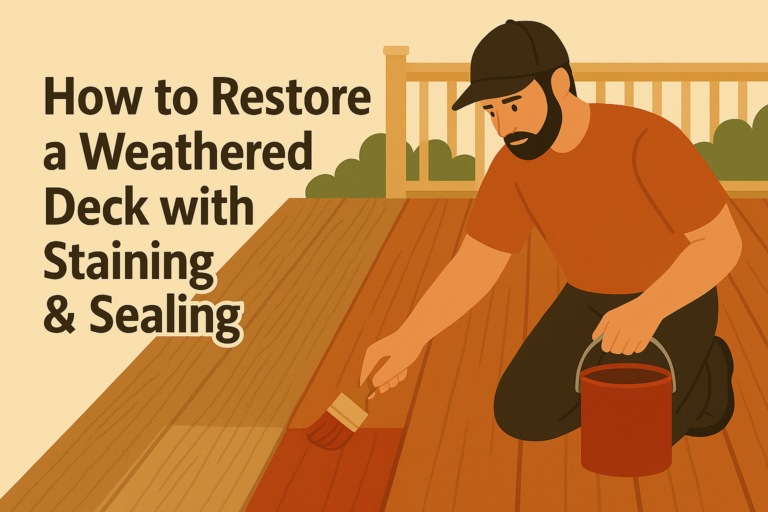
The Finishing Touch: Apply Your Stain Like a Pro
Your deck’s dry. It’s clean. It’s smooth. Now what? Time for stain.
Use a synthetic bristle brush, roller, or sprayer depending on the type of stain (solid, semi-transparent, or clear). Apply in a stroking-type motion, working parallel to the deck boards.
- Keep a consistent distance of 2–3 feet when spraying
- Don’t forget vertical surfaces like railings and stair sides
- Watch out for lap marks
- Keep a consistent coating for that flawless, beautiful finish
Conclusion
Pressure washing your deck is a game-changer when it comes to prepping for staining.
It not only helps remove dirt and old coatings but also restores the wood’s natural beauty. Taking the time to do it right can make all the difference in achieving a smooth, long-lasting finish.
If you’re not sure where to start or need professional help, companies like ProTek Fence Staining Austin specialize in deck pressure washing and staining services, making sure your deck looks gorgeous without the hassle.
By following the steps in this guide, your deck will be ready to shine — with a fresh, even coat of stain that’ll enhance your outdoor space for years to come.