The Best Surface Cleaning Methods Before Painting a Deck or Fence
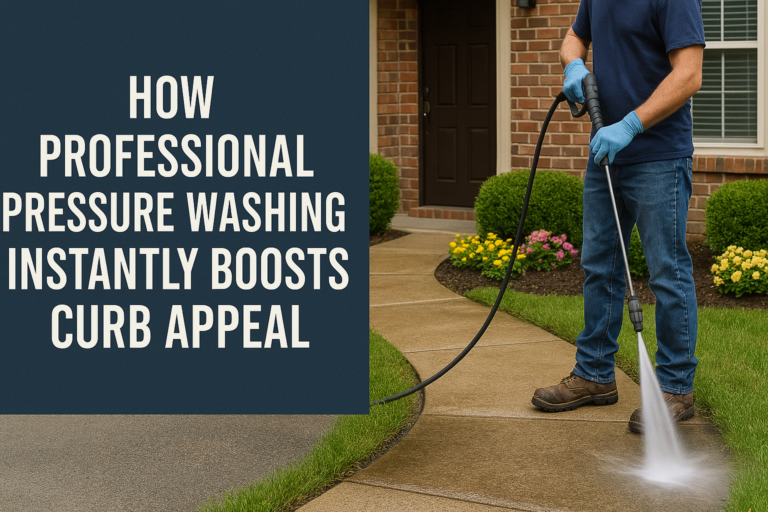
A deck or fence is more than just an outdoor structure—it’s an investment in your home’s value, curb appeal, and livability. Over time, these surfaces collect dirt, mildew, pollen, and other debris.
If you paint or stain without proper surface prep, you risk trapping moisture and contaminants underneath, which can cause blistering, fading, and even wood rot. Whether you’re prepping a wood deck or scheduling fence pressure washing in Austin, cleaning thoroughly beforehand is the only way to ensure a smooth, lasting finish.
Why a Clean Surface is Crucial for a Flawless Finish
Paint and stain need direct contact with the wood or composite surface to adhere properly. A dirty deck creates a barrier that weakens this bond. Over time, this can lead to cracking, bubbling, or peeling layers—issues that not only ruin the look but also allow moisture to seep in.
According to the National Association of Realtors, proper maintenance like sealing or staining can return more than 100% of the project cost in increased home value. That’s a powerful incentive to get it right.
Clean surfaces also help highlight structural damage, such as rotting boards or loose nails, which you can fix before sealing everything under a new coat.
Understanding Your Surface Type: Wood vs. Composite Decks and Fences
Not all decks or fences are built the same. A wooden deck requires different care than composite decking or a wood fence.
- Wooden surfaces are particularly vulnerable to long-term damage from moisture, insects, and foot traffic. They absorb stain differently depending on the wood type and age.
- Composite decks, such as those made with Cladco Composite Decking Boards, are more resistant to decay but can still suffer from buildup of grime and mildew.
- Wood fences face the added challenge of vertical orientation, which causes rain and sun to wear them unevenly.
- Composite fencing materials often need gentler cleaning to avoid voiding warranties.
Knowing the material type is the first step to choosing the right cleaning products and methods.
Gather Your Cleaning Arsenal: Tools and Solutions That Work
Before starting, assemble a complete deck cleaning arsenal. You’ll need:
- Stiff brushes or a deck brush for scrubbing surface grime
- A power sander or orbital sander for smoothing rough areas
- A pump sprayer to apply cleaning solutions evenly
- A garden hose or electric pressure washer for rinsing
- A moisture meter to test wood before staining or painting
For cleaning solutions, consider oxygenated deck cleaners that use sodium percarbonate as an active ingredient. They are safe for pets and plants and break down mildew and mold effectively.
Avoid harsh chemicals that can degrade wood fibers or composite decking. Products like Star Brite, known for their blend of biodegradable ingredients, offer excellent results.
You can also make your own cleaner using warm water and dish soap. For stubborn spots, mix in vinegar or baking soda.
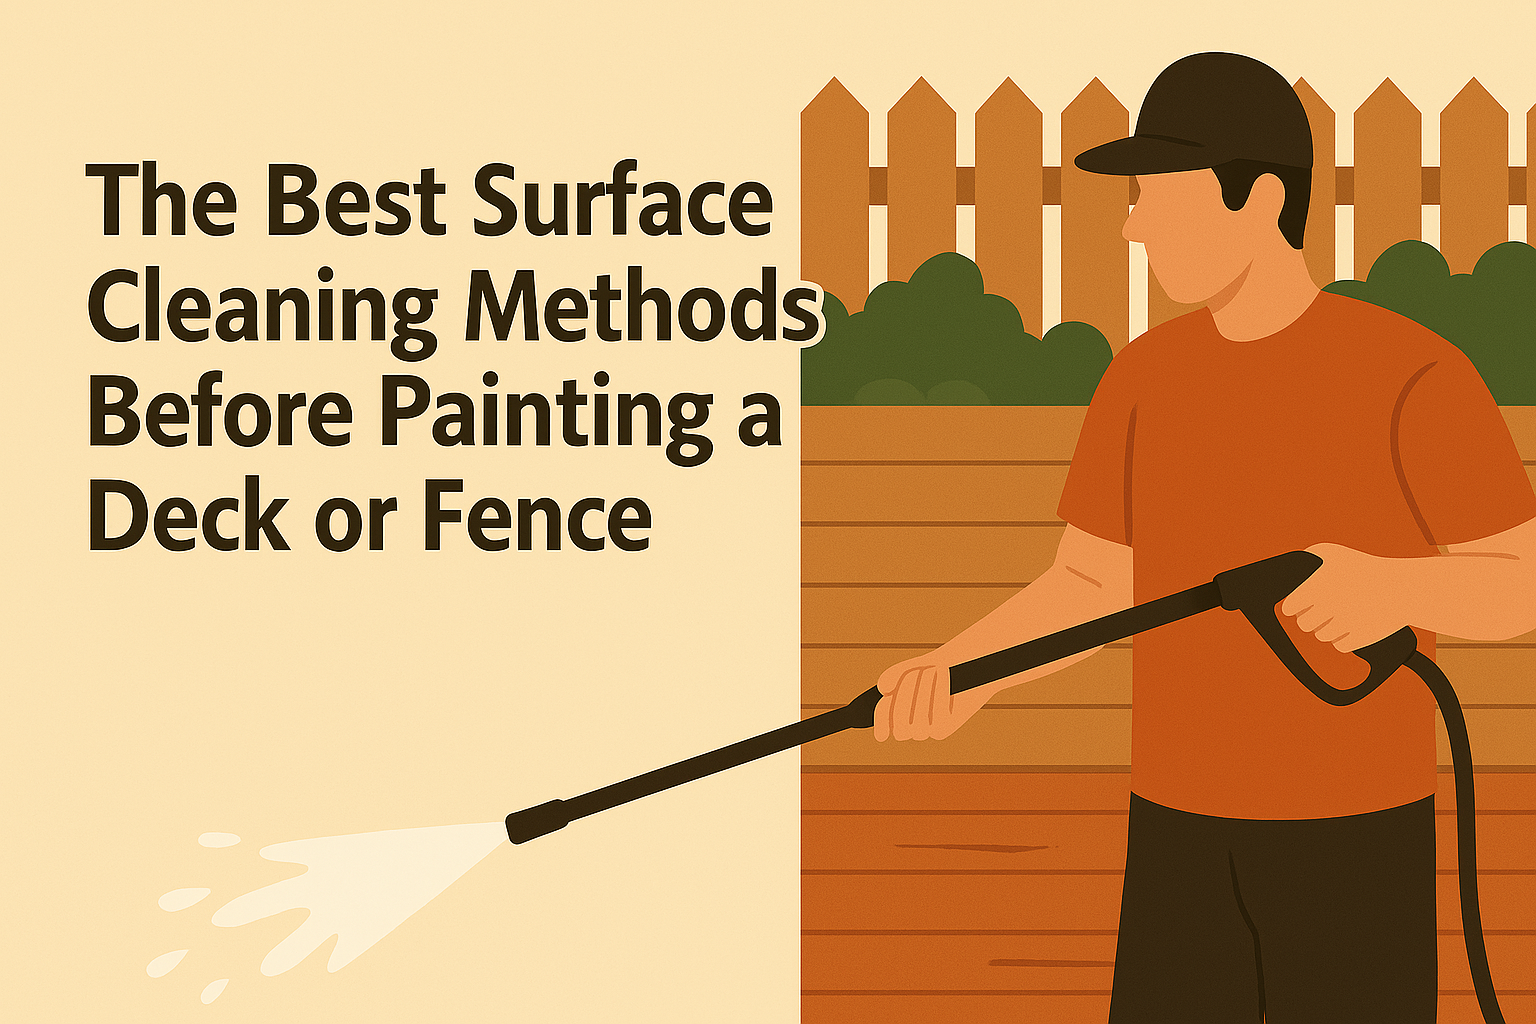
Pressure Washing vs. Garden Hose: Choosing the Right Water Force
Pressure washing is one of the most efficient ways to remove old grime, loose paint, and mold. However, using excessive pressure on a wood deck can erode wood fibers, leaving behind splinters and making the surface too rough for staining.
For best results, use a pressure washer with gentle settings—ideally between 1,200 to 1,500 PSI.
On the other hand, a standard garden hose with a sprayer attachment is perfect for light cleaning and rinsing. It’s also safer for composite decking or delicate wood fibers.
- Attach a hose-end sprayer filled with deck cleaner to target specific areas.
- When cleaning vertical surfaces like fences, work from bottom to top to avoid streaks and repeat the rinse in the opposite direction.
If you’re dealing with heavily soiled surfaces or preparing for a big fence painting project, hiring professionals for fence pressure washing in Austin can be the most effective and time-saving solution—especially if you lack the proper tools.
The Step-by-Step Cleaning Routine for Decks and Fences
Inspect the Surface:
Start by thoroughly inspecting your deck or fence. Look for any loose nails, damaged boards, or signs of rotting wood. This is essential for ensuring the integrity of the structure before you begin cleaning. Tighten any deck screws and replace any materials that are beyond repair, such as rotting wood or broken panels.
Clear the Space:
Before getting started, clear the area of all furniture, plants, and outdoor decorations. This will not only make cleaning easier but also prevent damage to your belongings. Sweep the surface to remove loose dirt, leaves, and other debris. A clean surface allows the cleaner to work more effectively.
Wet the Surface:
Using a garden hose or pressure washer, lightly saturate the wood. Wetting the surface helps open the pores of the wood and prepares it for cleaning. If you’re using a pressure washer, ensure the setting is gentle to avoid damaging the wood fibers.
Apply Cleaning Solution:
Mix your preferred wood cleaner according to the instructions, and apply it to the surface using a pump sprayer or a bucket with a cloth or sponge. Work in sweeping motions to ensure even coverage, making sure to coat every board and fence panel. Pay extra attention to spots that are visibly dirty or stained.
Scrub Thoroughly:
For stubborn spots like dirt, mold, or mildew, use a stiff-bristled brush or a specialized deck brush to scrub. Work in sections to focus on areas that need extra attention. For particularly tough stains, like black marks or mildew, apply additional cleaner and allow it to sit for 10–15 minutes. This gives the solution time to break down the grime before scrubbing.
Rinse Completely:
Once you’ve scrubbed every area, rinse thoroughly with clean water. It’s crucial to remove all the cleaner residue to prevent buildup. Be sure not to let the solution dry on the surface, as this can leave marks or cause the wood to become discolored.
Let It Dry:
After rinsing, allow the wood to dry completely before applying any finish. Check the moisture level of the wood with a moisture meter to ensure it is adequately dry. Decks or fences should be dry to the touch before any painting, staining, or sealing takes place, as applying a finish to damp wood can lead to poor results and potential damage.
Don’t Paint Yet! Why Moisture Levels Matter More Than You Think
Painting or staining damp wood is a recipe for disaster. Moisture gets trapped underneath, causing bubbling and peeling. Worse, trapped moisture leads to mold growth and deck rotting.
Let the deck or fence dry for at least 24–48 hours after cleaning. For humid climates or shady areas, drying might take even longer.
Use a moisture meter to ensure the deck boards or fence panels are below 15% moisture before applying stain or paint. This small step prevents big problems.
The Myth of One-and-Done Cleaning (And What to Do Instead)
You may think one cleaning session is enough. But for older or neglected surfaces, especially those exposed to foot traffic and heavy weather, one pass won’t cut it.
Even after power washing, hidden mildew can survive in grooves or beneath surface layers. Consider repeating the cleaning process in high-traffic areas like stairs or entertainment zones.
- Apply a deck brightener to enhance the wood’s appearance and restore its natural color after a deep clean.
- Re-cleaning also helps you assess whether a deck stripper is needed to remove previous coats of stain or deck paint.
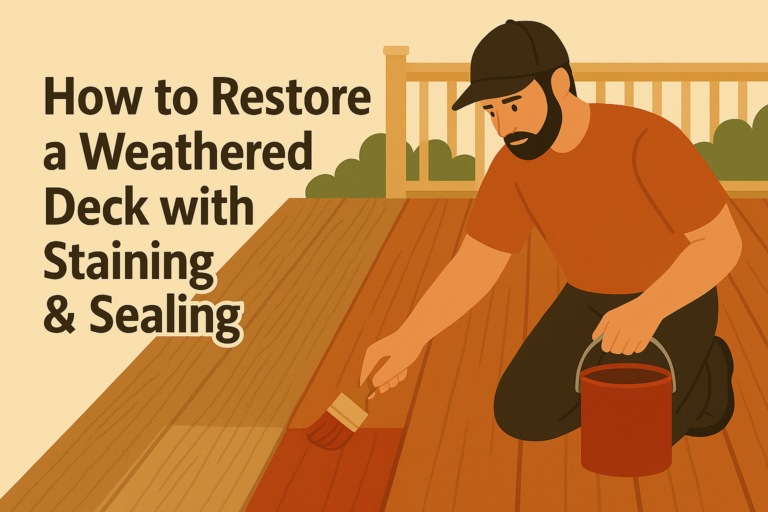
Pro Tips for a Gorgeous Deck or Fence That Turns Heads
Here’s how to get that show-stopping result:
- Avoid direct sunlight when painting or staining—it causes uneven drying and lap marks.
- Choose the right type of stain:
- Water-based stains dry faster and are easier to clean up.
- Oil-based stains last longer and offer better protection but require more drying time.
- Apply with a paint sprayer or deck brush for a smooth finish. Don’t forget the sides of each decking board.
- Use a protective layer or sealant after staining to lock in the color and repel moisture.
Want your deck to last even longer? Seal all edges, especially cut ends, and check annually for damage or fading. Apply additional coats as needed, especially in high-wear areas.
Fence-Specific Cleaning Techniques You Might Be Overlooking
Fences need a different approach than decks:
- Use a wire brush for textured wood or fence panels with grooves.
- Don’t forget the tops of posts and inside corners—areas that trap dirt.
- For composite fence panels, always follow the manufacturer’s care guide. Harsh chemicals can discolor or degrade the composite decking materials.
- Clean a couple of feet at a time so the solution doesn’t dry before you can scrub and rinse.
Cleaning the entire fence surface might seem tedious, but the result is worth it—especially when it boosts your home’s curb appeal.
When in Doubt, Trust the Pros (Or Become One Yourself)
Professional cleaning services know how to adjust pressure levels, choose the right cleaning products, and spot damage that needs repair. They also save you the hassle of dealing with deck nails, worn-out boards, or tricky corners.
For large decking projects, this can be a worthwhile investment. That said, many homeowners find satisfaction in doing the job themselves. With the right equipment and this guide in hand, you can clean your entire deck surface or fence for painting like a pro.
Conclusion
Surface preparation is the most important part of any deck or fence painting project. By identifying your surface type, choosing the right tools, and following proper drying and cleaning procedures, you set yourself up for success.
Whether you’re sealing a wooden deck, refreshing a composite fence, or painting a wooden surface, the prep work determines how long your investment will last.
Take the time to clean thoroughly now—and enjoy a durable finish that stays beautiful season after season.
For expert results and long-lasting protection, trust professionals like Ace Fence Staining to elevate your next outdoor project.